

Energieffektive bærekraftige GRC gardinveggpaneler er høyytelses arkitektoniske paneler designet ...
READ MORE
Nov 09, 2026
Ask anyone who maintains a stretch of road what causes the most expensive damage, and the answer is rarely the traffic itself. It is the water sitting underneath it. A highway drainage channel exists to take that water off the surface and away from the pavement structure quickly, before it can soften a sub-base, freeze inside a joint, or sheet across a lane at motorway speed.
We have spent years building channels, gratings, covers and manhole components for roads, kerb lines, depots and landscaped edges, and the lesson that repeats on every project is the same: the channel is a small line in the budget and a very large part of the outcome. This guide puts the practical knowledge in one place, covering what these channels actually do, how the main types differ, and how to settle on materials and load classes without over- or under-specifying.
On a residential driveway, a channel drain is mostly about keeping a threshold dry. On a highway it is doing two jobs at once, and both of them are expensive to get wrong.
The first job is safety. Standing water on a carriageway removes tyre contact, throws spray that hides lane markings, and turns into black ice the moment the temperature drops after a wet evening. The second job is structural. A pavement is a layered system, and every layer performs worse when it holds moisture. Water that reaches the unbound layers softens them, and soft layers deflect more under load, which accelerates cracking and eventually demands a full-depth repair rather than a surface renewal.
What separates highway work from a garden project is the operating condition. Flow arrives continuously along the channel rather than in a single downpour burst, loads arrive millions of times, and any maintenance visit happens behind cones under traffic management. A channel that is hard to clean is a channel that will not be cleaned.
A drainage detail that costs a few minutes on the drawing board can save a full reconstruction a decade later. Water always finds the weakest line, and it rarely chooses the convenient one.
If you want a plain-language refresher on how a channel and its outlet work together, it helps to start with what a drainage channel actually is and where a trench drain system fits before moving on to specification.
Most failures we are asked about are not material failures at all. They are interface failures between components that were each individually fine.
When someone says a channel has “failed”, it is worth checking each line above in order before blaming the product. A cover that rocks, a run that sits low after settlement, a joint that weeps under the kerb: each points to a different link in that chain.
There is no single correct channel for a highway. There is only the channel that suits the geometry, the traffic and the maintenance regime. The comparison below is the one we use in early conversations with designers and contractors.
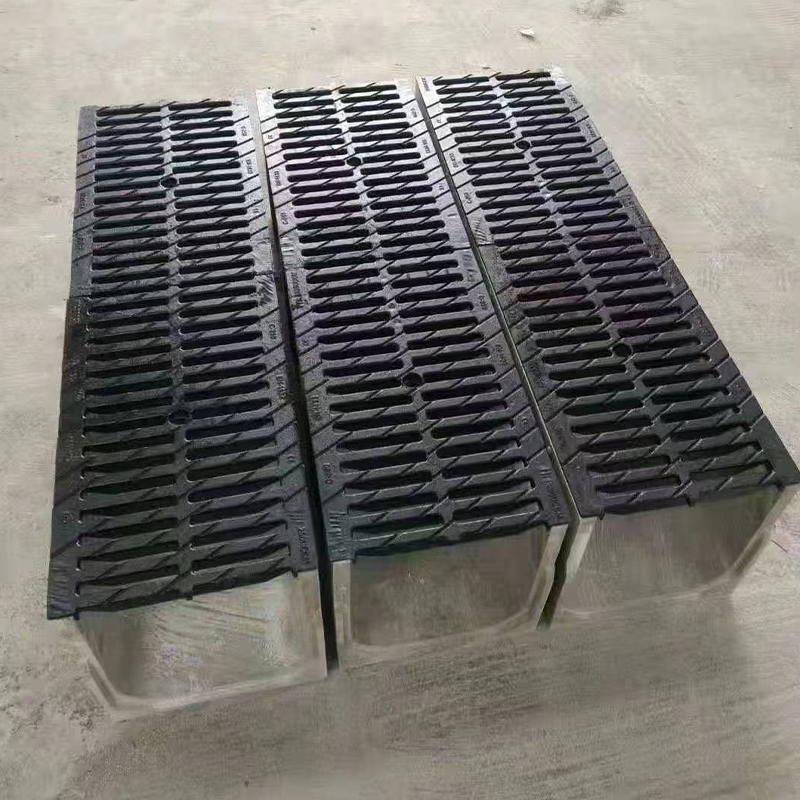
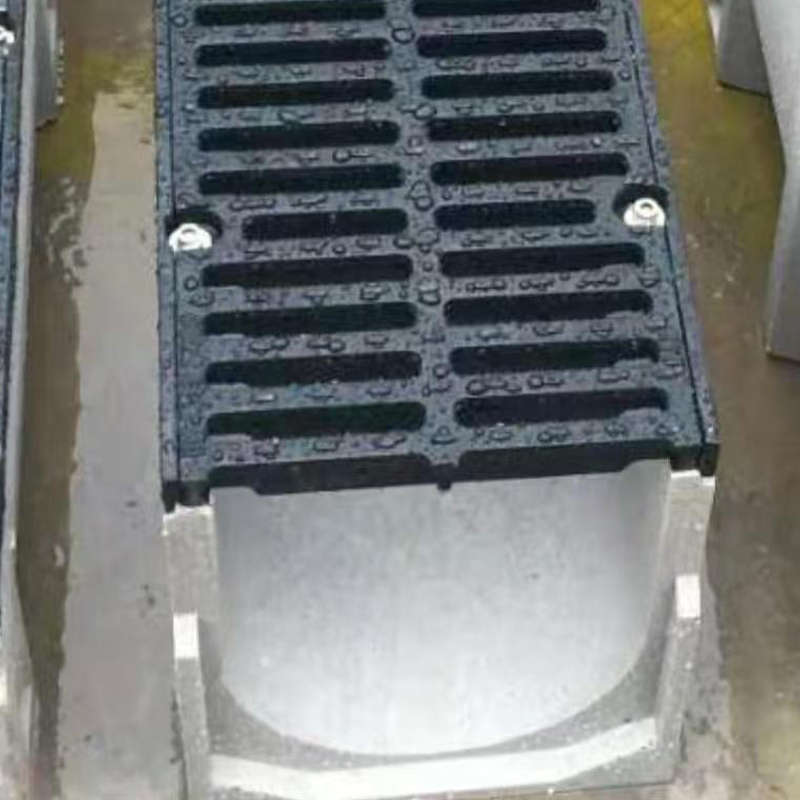
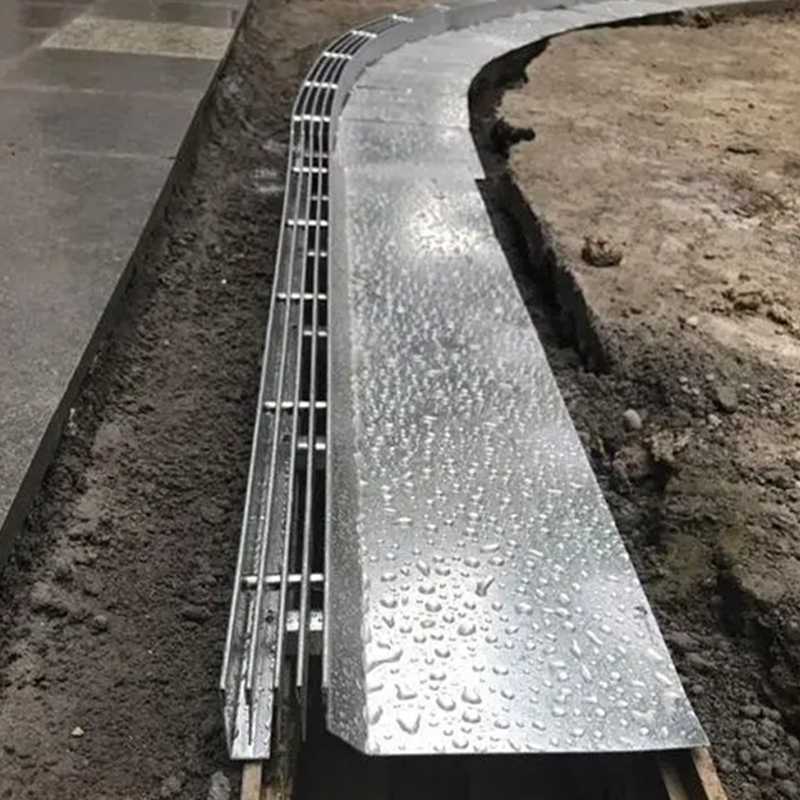 High Load-Bearing Linear Drainage Channel for Heavy-Duty SitesHeavy-duty channel for highways, industrial zones and commercial complexes, with modular sections and anti-slip grating for high-traffic drainage where load capacity and maintenance access matter.View Product →
| Channel type | Where it usually appears | Typical load expectation | What to watch |
|---|---|---|---|
| Grated linear channel | Carriageway edge, hard shoulder, depots | Medium to heavy duty | Grating class, anchorage, silt allowance |
| Kerbslot / combined kerb drainage | Verge-side kerb lines, urban highways | Medium to heavy duty | Slot width, cleaning access |
| Precast concrete channel | Cuttings, embankment toes, rural sections | Very high, carried by the structure | Joint sealing, outlet spacing |
| Cast iron grated or slotted run | Bridge decks, toll plazas, ports | Heavy to extra-heavy duty | Fixing detail, corrosion protection |
| Resin concrete channel | Roadsides with de-icing salt and chemical exposure | Medium to heavy duty | Cover class, bedding support |
| Stainless steel channel | Landscape edges, green belts, architectural verges | Light to medium duty | Steel gauge, bedding continuity |
Two rules of thumb hold up well in practice. First, size for the flow you expect in a ten-year storm plus a margin, not for the average rainfall you can see from the site office. Second, never let the cover class exceed what the channel body and its bedding can genuinely support, because load has to travel somewhere.
Material choice is usually decided by three forces: axle load, chemistry and aesthetics. Everything else is detail.
Where loads are brutal and repetitive, iron remains hard to beat. Grates and covers hold their shape under heavy axles, resist deformation at joint edges and tolerate the careless knock of a snowplough blade better than most alternatives. The trade-off is weight and the need for proper corrosion protection on exposed edges. For ports, freight terminals and extra-heavy pavement edges, iron is often the honest answer.
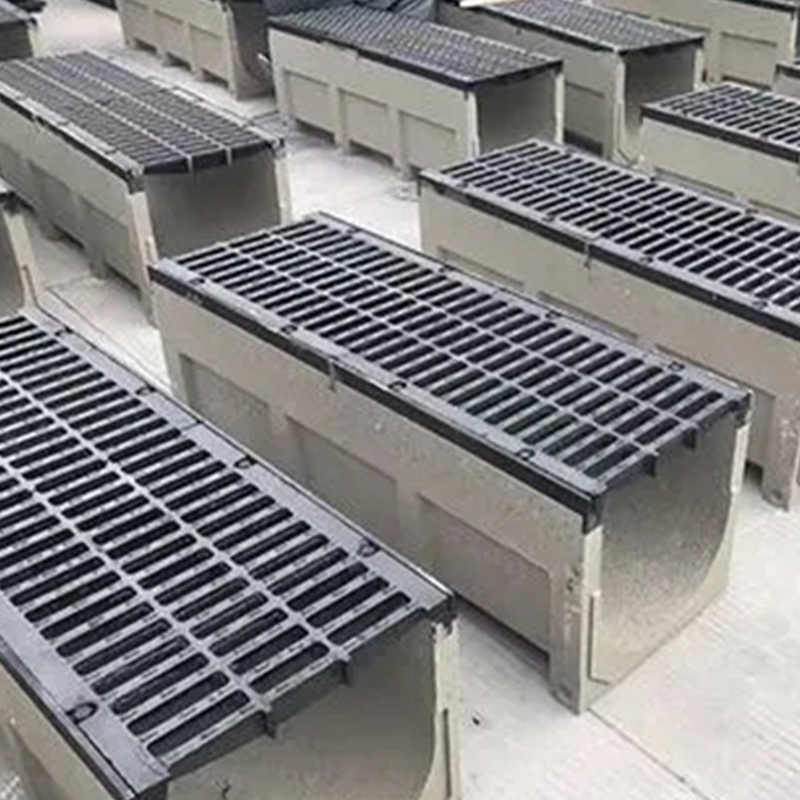 F900 Ductile Iron Grating for Airports and Container TerminalsExtra-heavy-duty ductile iron grating for runways and terminal areas, designed for F900 dynamic impacts with pressure locks, anti-vibration gaskets and corrosion-resistant coating.View Product →
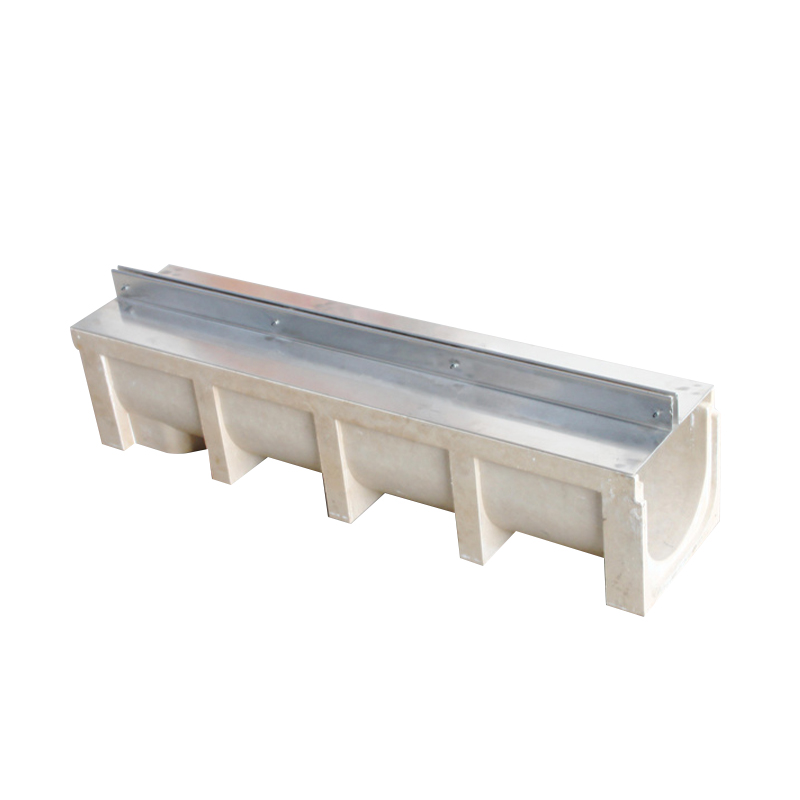
Resin concrete channels have become the default on many road and infrastructure schemes because they are light, smooth-walled and chemically stubborn. A smooth internal wall keeps flow velocity up and sediment down, and the material shrugs off the salt and chloride that winter maintenance delivers in quantity. The caveat is bedding: a rigid-looking channel still needs continuous, well-compacted support to perform.
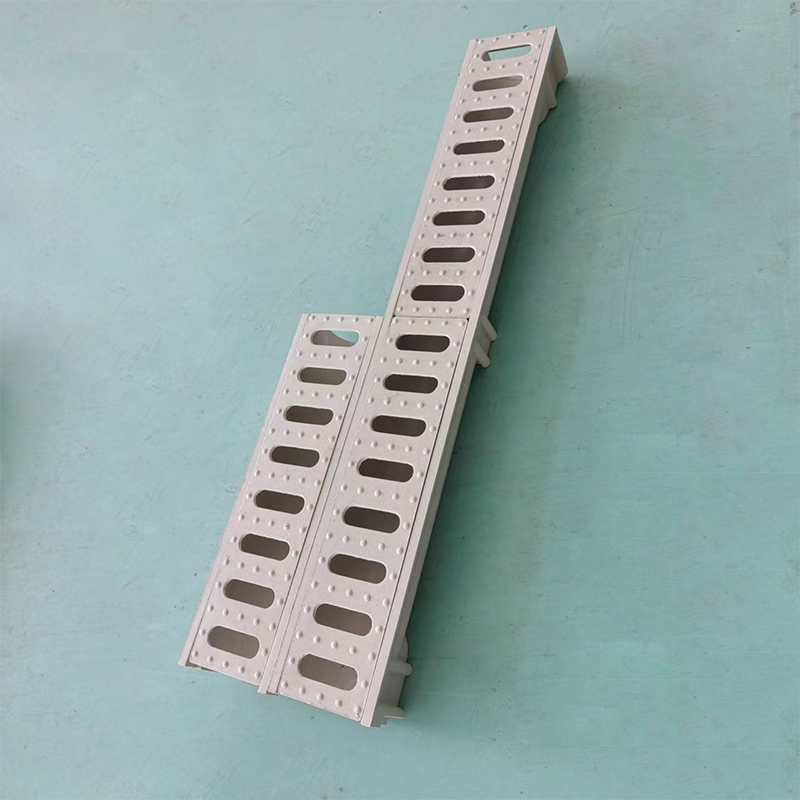
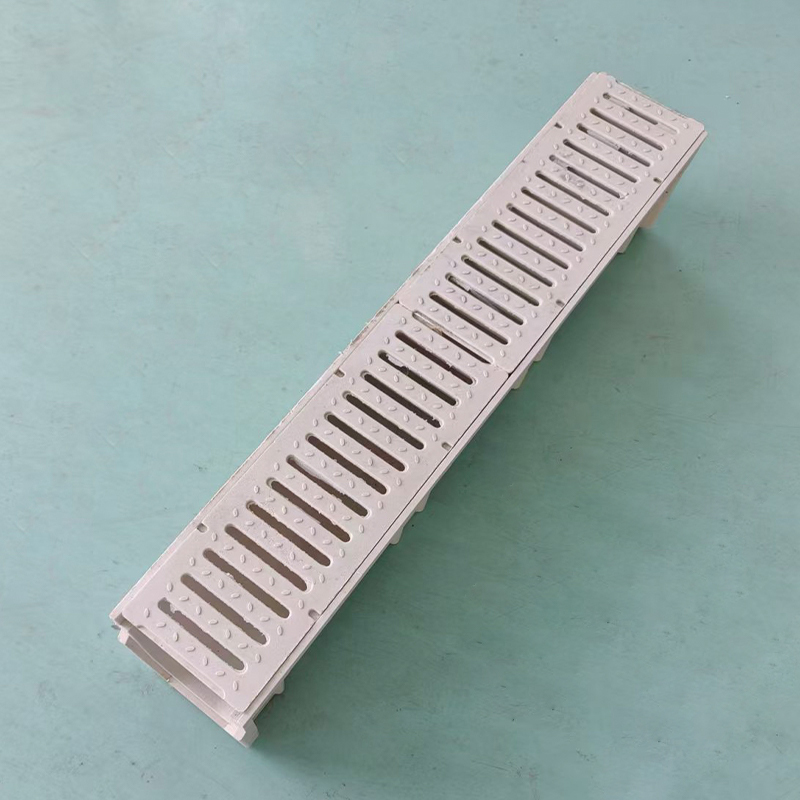 Corrosion-Resistant Resin Drainage Channel for Infrastructure and IndustryLightweight synthetic resin channel with acid, alkali and salt resistance, modular assembly and optional grates, suited to roads, plazas, chemical plants and wastewater facilities.View Product →
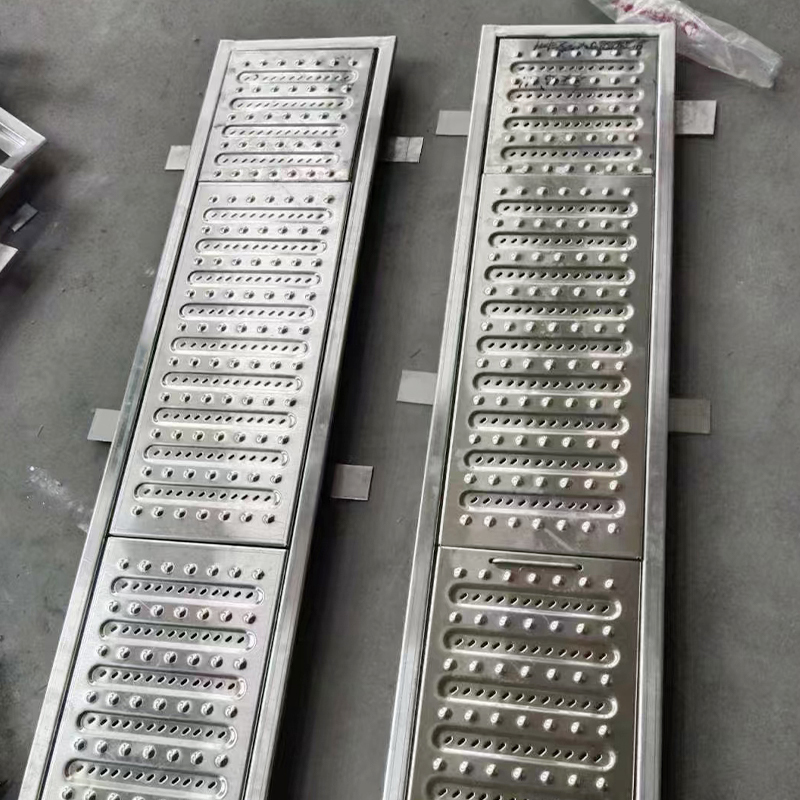
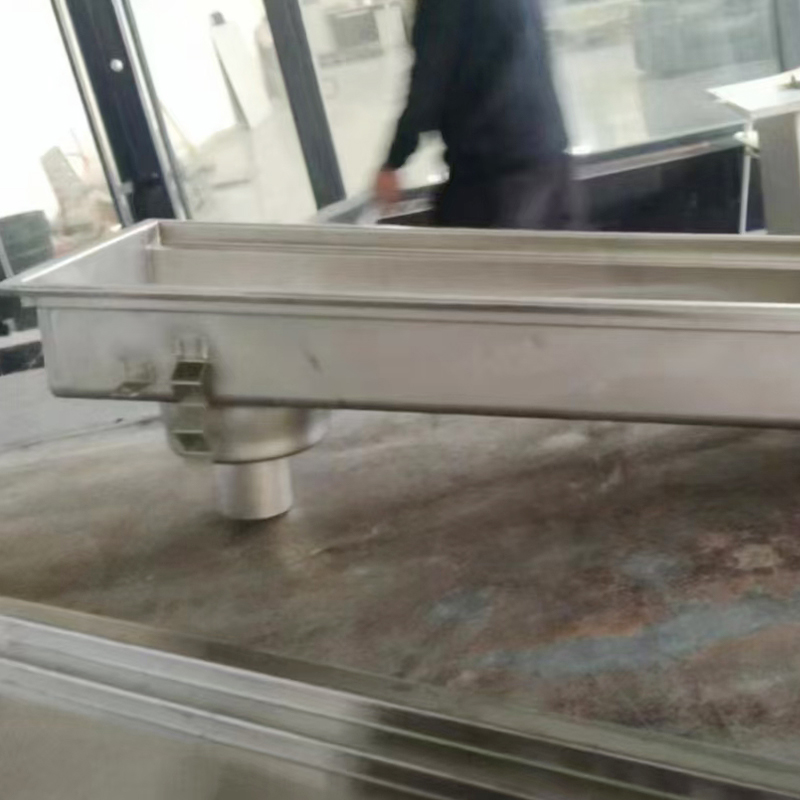
Stainless earns its place where the channel is visible and the specification is aesthetic as much as hydraulic. Thin, seamless edges sit well against paving, and the material handles damp, shaded conditions without staining. It is not a substitute for a heavy-duty iron grating in a live traffic lane, and specifying it there is a common early mistake.
For long rural runs, cuttings and embankment toes, precast concrete sections still offer the best cost per metre at very high capacity. Joints are the whole game: seal them properly, set outlets at sensible intervals, and the run will last decades.
Hydraulically, a channel is simple. Practically, it is unforgiving. Water needs a reason to move and a place to go, and both have to be designed rather than hoped for.
Most of the value in a highway drainage channel is delivered in the two hours around the concrete pour, not in the factory. The trench must be excavated to a consistent depth, the base compacted and proved, the channel set to line and level with a string line that is checked rather than assumed, and the surround placed evenly on both sides so the unit cannot shift under load.
If your team is installing for the first time, our step-by-step channel drainage installation guide walks through the sequence in the order it happens on site, from setting out to final flush.
Maintenance is where the honest cost of a specification shows up. A channel with a liftable silt basket, a grating that can be removed by two people without tools, and an outlet that can be rodded from the surface will be looked after. One that needs three people, a hoist and a lane closure will be left alone until it blocks.
Before a channel schedule goes out, we run through the same short list with designers and contractors. It rarely takes long and it almost always changes something.
Answer those seven questions and the product selection is usually obvious. Skip them and the channel becomes a recurring item on the maintenance list.
Highway drainage is one of those disciplines where the best work is invisible. Nobody thanks a channel for keeping a pavement dry through fifteen winters, but everybody notices when a lane floods after a summer storm. That asymmetry is exactly why the specification deserves a little more attention than it usually gets.
Our own view, after years of making these products, is that a good channel is modest: correctly sized, properly bedded, honestly classified and easy to clean. Get those four things right and the detail will quietly do its job for the life of the road. If you are weighing up options for a scheme, we are always happy to talk through the geometry and the loads before the drawing is frozen, which is when changes are still cheap.
Relaterte produkter
Energieffektive bærekraftige GRC gardinveggpaneler er høyytelses arkitektoniske paneler designet ...
READ MOREEnergieffektive bærekraftige GRC gardinveggpaneler er høyytelses arkitektoniske paneler designet ...
READ MOREEnergieffektive bærekraftige GRC gardinveggpaneler er høyytelses arkitektoniske paneler designet ...
READ MOREEnergieffektive bærekraftige GRC gardinveggpaneler er høyytelses arkitektoniske paneler designet ...
READ MOREEnergieffektive bærekraftige GRC gardinveggpaneler er høyytelses arkitektoniske paneler designet ...
READ MOREEnergieffektive bærekraftige GRC gardinveggpaneler er høyytelses arkitektoniske paneler designet ...
READ MORE
Kontakt oss
Fabrikkadresse
Gruppe 12, Quanxin Village, Donghai Town, Qidong City, Nantong City, Jiangsu-provinsen, Kina
E-post
telefon
+86-13914963840
+86-13451754670
produkter
QR-KODE
 Engros Dreneringsgrøftprodusenter